Showing posts with label slimline card. Show all posts

Happy Birthday Slimline Card


Hello Crafters! I have another card to share with you today (yes, I am on a crafting roll)! My little blog hasn't seen this much activity in a long time but crafting is my outlet and personal therapy. 

Today I have a slimline birthday card that I made for the Seize the Birthday blog. Slimline cards are not new but they have made a very popular comeback recently and I love making them. Since they came back on the scene in the last couple of years many companies have released slimline dies. I bought one set in 2020 but ONLY one since I figured that I could always cut a rectangle with my paper trimmer. Hahaha, THAT didn't last long! I now have several slimline die sets! Slimline cards are usually 9"x4" or 8.5"x3.5". I have only made the latter size since it uses a little less cardstock. Slimline cards will fit into a regular sized business envelope (a #9 or a #10) without any extra postage. 


For this card I used one of my new favorite companies, Pinkfresh Studio. They have the most amazing layering stencils! They make me feel like a 'real' artist after I finish. This stencil set is called Heartfelt Thanks and I stenciled it with Pinkfresh Studio inks in three different shades of pink, two shades of green and a yellow. After I stenciled the design I fussy cut it out on the right side only and popped it up with pop dots it over another panel that I stenciled with the Pinkfresh stencil called Horizontal Stripes. I then layered them over a panel that I die cut with a Catherine Pooler die called Post This (thanks Sue 😊).


For the sentiment, I inked a piece of white cardstock with the darkest pink that I used in my stenciling and die cut the word 'Birthday' from Gina K Designs from it. If you ever need a certain color of cardstock to die cut but don't have it just use your inks! I also die cut the word out of white cardstock four more times and adhered them all on top of each other to create a very dimensional die cut. I then die cut the shadow out of vellum. I stamped the phrase "wishing you a happy" from Gina K Designs Lace Flowers stamp set in the same pink color and die cut it out with the banner die from GKD Master Layout #3 die set.


After putting the card together I added pink jewels from Queen & Co. 

If you get a chance check out the Seize the Birthday blog! I am adding this card there for their card challenge using stripes in a birthday card. 

Thank you for visiting! I will be posting another card again very soon. 

So until next time, Happy Crafting!

Foiled Butterfly Slimline Card

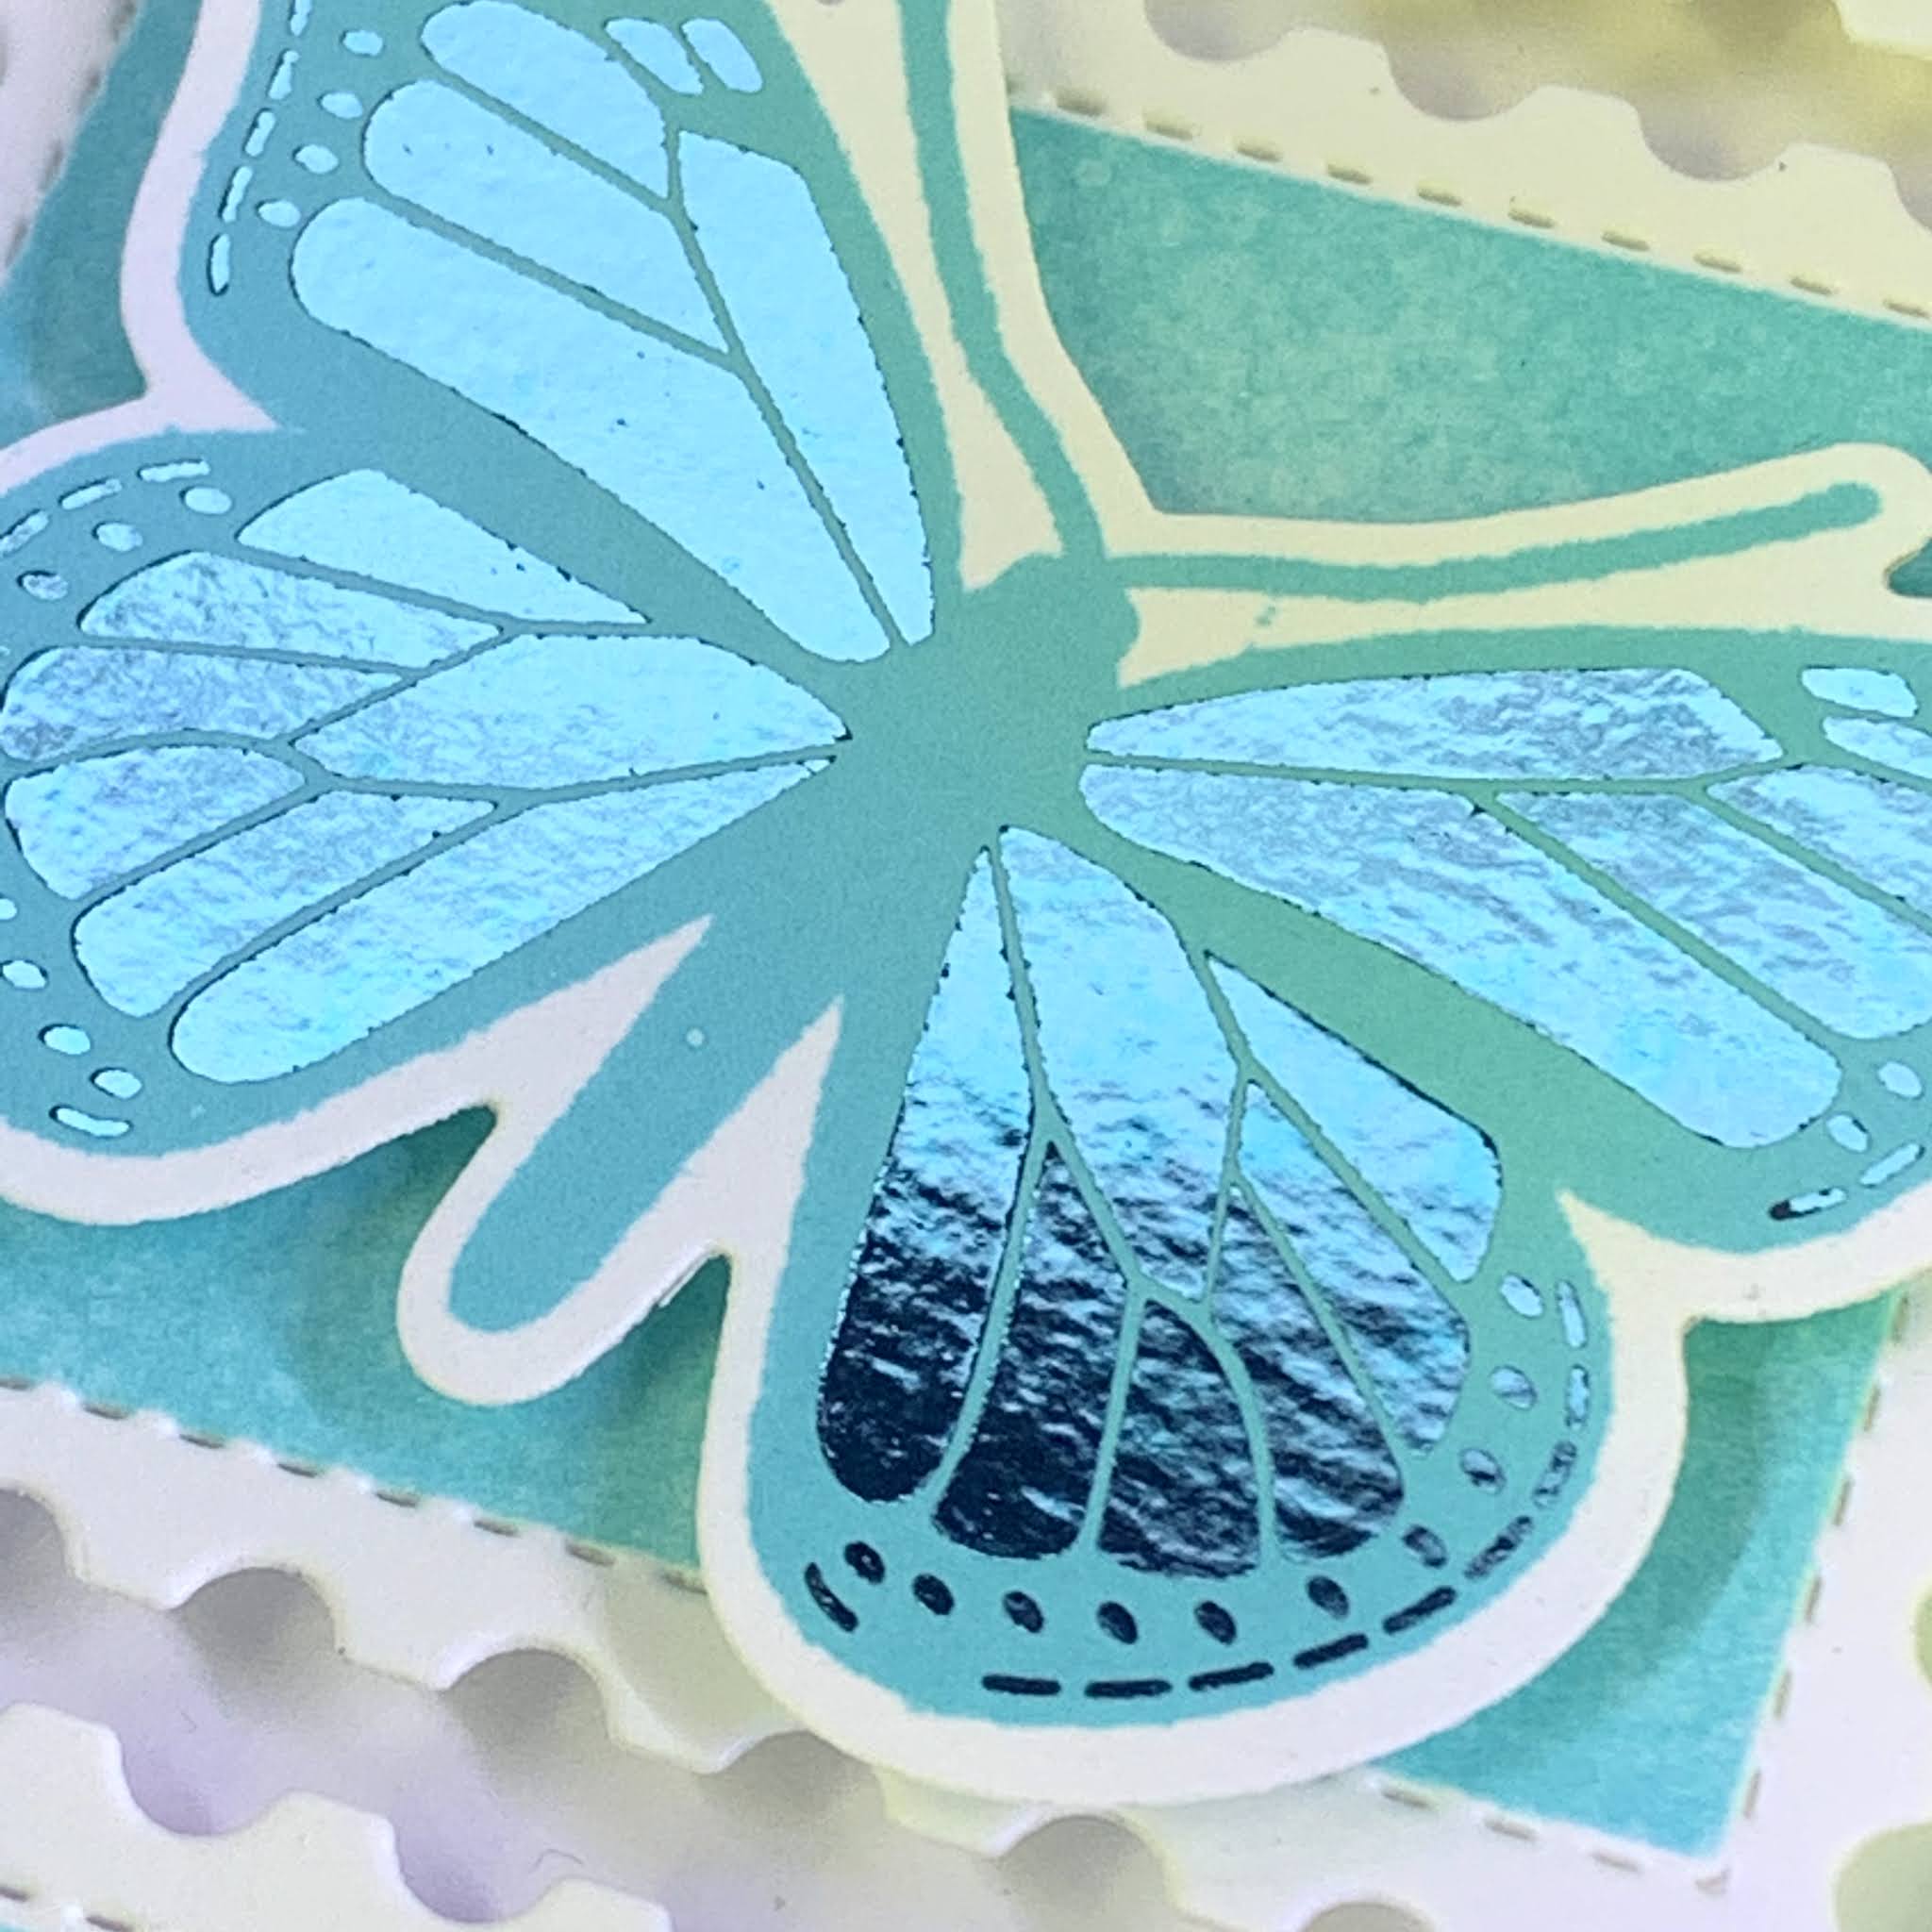
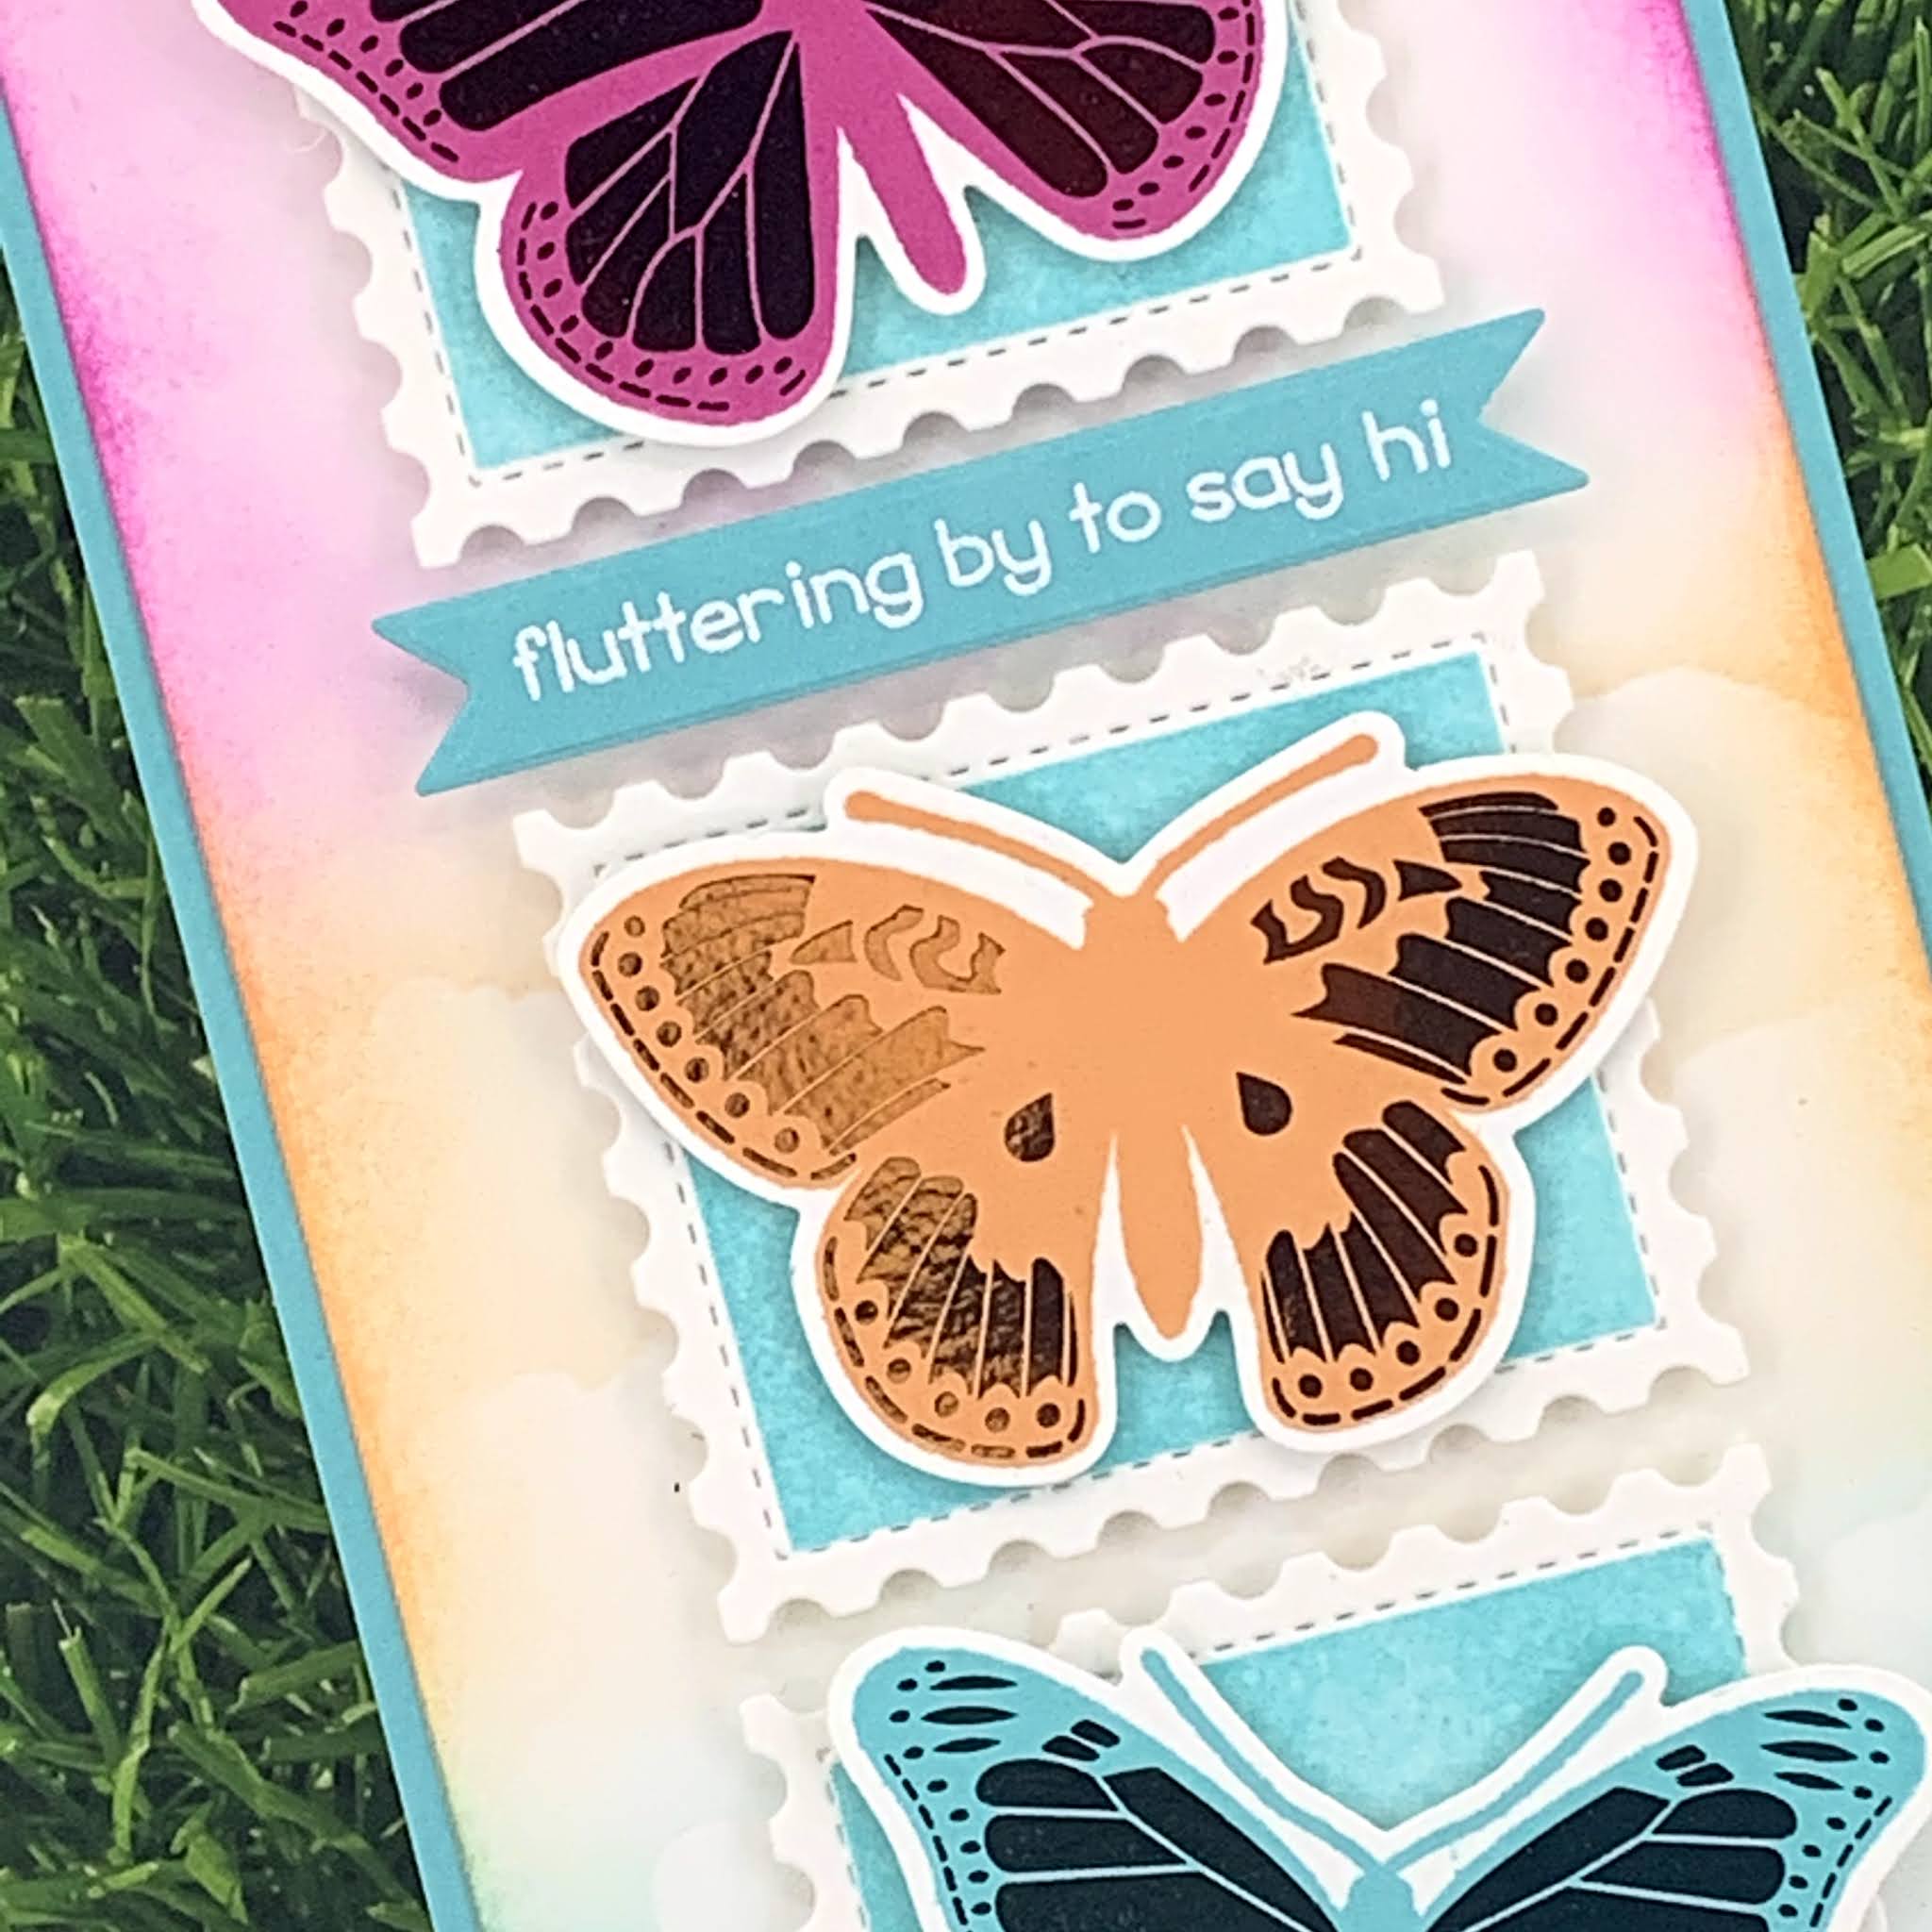
 Hey Crafters! Today I have a card that I created for the Beautiful Butterflies Mod Squad Challenge. This challenge gave me the chance to use a new (to me) product - Gina K Designs/Therm-O-Web Stamp N Foil Foil-Mates Detail Sheets. I recently purchased a laminator, toner sheets, and a lot of foils! These Foil-Mates are called Butterfly Kisses and also has a stamp set and die set that comes separately (but of course I had to have them all!)


I decided to make a slimline card so I could put more of those butterflies on my card. I ink blended four colors onto my card front - Gina K's Passionate Pink, Sweet Mango, Turquoise Sea and Wild Lilac. Part of the butterfly wings come ready to foil but I stamped them in the same inks that I used on the card front and then I ran them through my laminator with the same color of Gina K Fancy Foils. It is so hard to see the beautiful and shiny foil in photographs unfortunately.


I used a sentiment from Lawn Fawn Butterfly Kisses (just a fun coincidence that both companies have the same name!) and heat embossed it with white embossing powder from Gina K. 


I die cut the sentiment and the postage stamp shape from Gina K Designs Master Layout #4. All of the elements are popped up on pop dots. 

I hope that you like my card for today! My new laminator has been getting a workout and I will post more cards that I've made using foiled elements and more info on the laminator itself. I will be adding this card to the Mod Squad Challenge! Thanks so much for visiting!

Until next time, Happy Crafting!

Cityscape Birthday Card

Hello crafty friends! It's been a few months since I last posted anything. There was Christmas, a Christmas card exchange (I made 30 cards for that plus even more for family and friends!), getting both vaccines (YEA!), and then 'Snowmageddon' here in North Texas 😖 and we had to find warm accommodations since our home had no electricity and no heat for several days! But now I'm back in my craft room and crafting away!

These City Landscape dies from Impression Obsession has been in my stash for quite some time and I decided that it was time to use it! It reminds me of the year that I lived in NYC. For this card I needed something a little more masculine so I kept the colors muted and I also wanted to create a slimline card. These are so much fun to make and they have a lot more 'real estate' than the smaller A2 cards! I used Tim Holtz Distress Inks for the background and used the Tim Holtz Distress Sprayer to spritz some water droplets on it. The die was cut a few times in each color to stretch it out across the bottom of the card. I added strip sentiments from Simon Says Stamp (so quick and easy) and two enamel dots at the bottom. There are also Clear Droplets from Kat Scrappiness scattered through the sky.


I am entering this card in the following challenge: 

ModSquad Challenge - Fairytale Castle: The challenge is to incorporate a building or some type of architecture. 

Thanks for visiting and until next time, Happy Crafting!

LinkWithin