I had wanted to make the creepy haunted house from the Happy Hauntings Cricut cartridge ever since I got it. So when I saw that the house was the blog challenge this week on Bitten by the Bug 2, I jumped at the chance to play along. They said that the cutting was easy – cutting is always easy using my Cricut – but warned that the assembly took time. Boy, were they ever right! There seemed to be hundreds of pieces to this thing and even though the step-by-step instructions are in the back of the handbook, there are 22 steps – and 9 of the steps have 2 parts! You do the math! LOL! But once I started this project I couldn’t stop simply because I couldn’t wait to see what the finished house would look like.

I followed BBTB2 recommendation and cut it out at 7” and when all assembled the finished house is almost a foot tall. I used black cardstock for the whole thing but when it was finished I used a deep purple Twinkling H2O by LuminArte and brushed it onto the roof, balcony, and railings. Finally after buying about 20 jars of this stuff several years ago I actually used some! You can see the Twinkling H2O’s HERE. Then I sprinkled some purple and black Doodlebug brand glitter mixed together on top. Another old purchase! I could have been a little neater with this step but by this time I just wanted to be done! So please excuse the mess. Because I put two electric tea lights inside the house and I wanted the light to shine through, I cut the window parts of the design out of yellow vellum. You can see one through the door…

I used my Gypsy to weld extra fence lengths together and glued them all around a 12x12 piece of black cardstock. After everything was done, I just kept thinking that it needed something else. Surprise, surprise! I couldn’t just stop there! So I came up with the idea of the witches legs and feet sticking out of the chimney. I actually cut this out free-hand using DCWV Midnight Spell Glitter Mat Stack. But because it was a little hard to see the legs, I cut out a circle for a moon to place behind it.
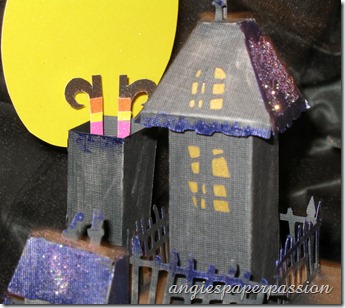
I photographed it with the same spooky tree that I posted a couple of weeks ago. Here is another view of the house…

Although it took some time and there were a lot of pieces to the house, I really did enjoy the outcome. I hope you’ll like it too. At least appreciate it after seeing the next photo of the haunted house in progress, lol…

Head over to Bitten by the Bug 2 and take a look at all of the Haunted Houses created by the wonderfully talented designers over there!
Until next time, Happy Crafting,












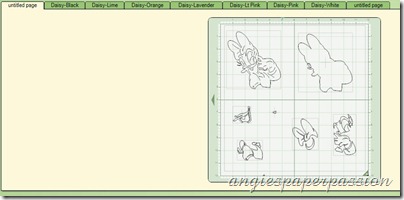 Below you can see how I labeled my pages.
 Here is another page.